Hogwarts Legacy: Unleash the Power of Custom Beast Nicknames

Author: Joseph Jan 26,2025

Hogwarts Legacy: A Guide to Nicknaming Your Rescued Beasts

Hogwarts Legacy continues to delight players with its depth and hidden features. One such feature, often overlooked, is the ability to rename rescued beasts. This seemingly small detail significantly enhances player immersion and personalization. This guide will walk you through the simple process.

Steps to Nicknaming Beasts:

  1. Access the Vivarium: Travel to the Room of Requirement in Hogwarts Castle and enter your Vivarium.
  2. Summon the Beast: Ensure the beast you wish to rename is present. If it's in your inventory, summon it using the Beast Inventory menu.
  3. Interact with the Beast: Approach the beast and interact with it. This will display its current health and status.
  4. Select "Rename": Within the interaction menu, you'll find the option to rename your beast. Choose this option.
  5. Enter and Confirm Nickname: Type your chosen nickname and select "Confirm."
  6. View Nickname: The nickname will be displayed when you interact with the beast again.

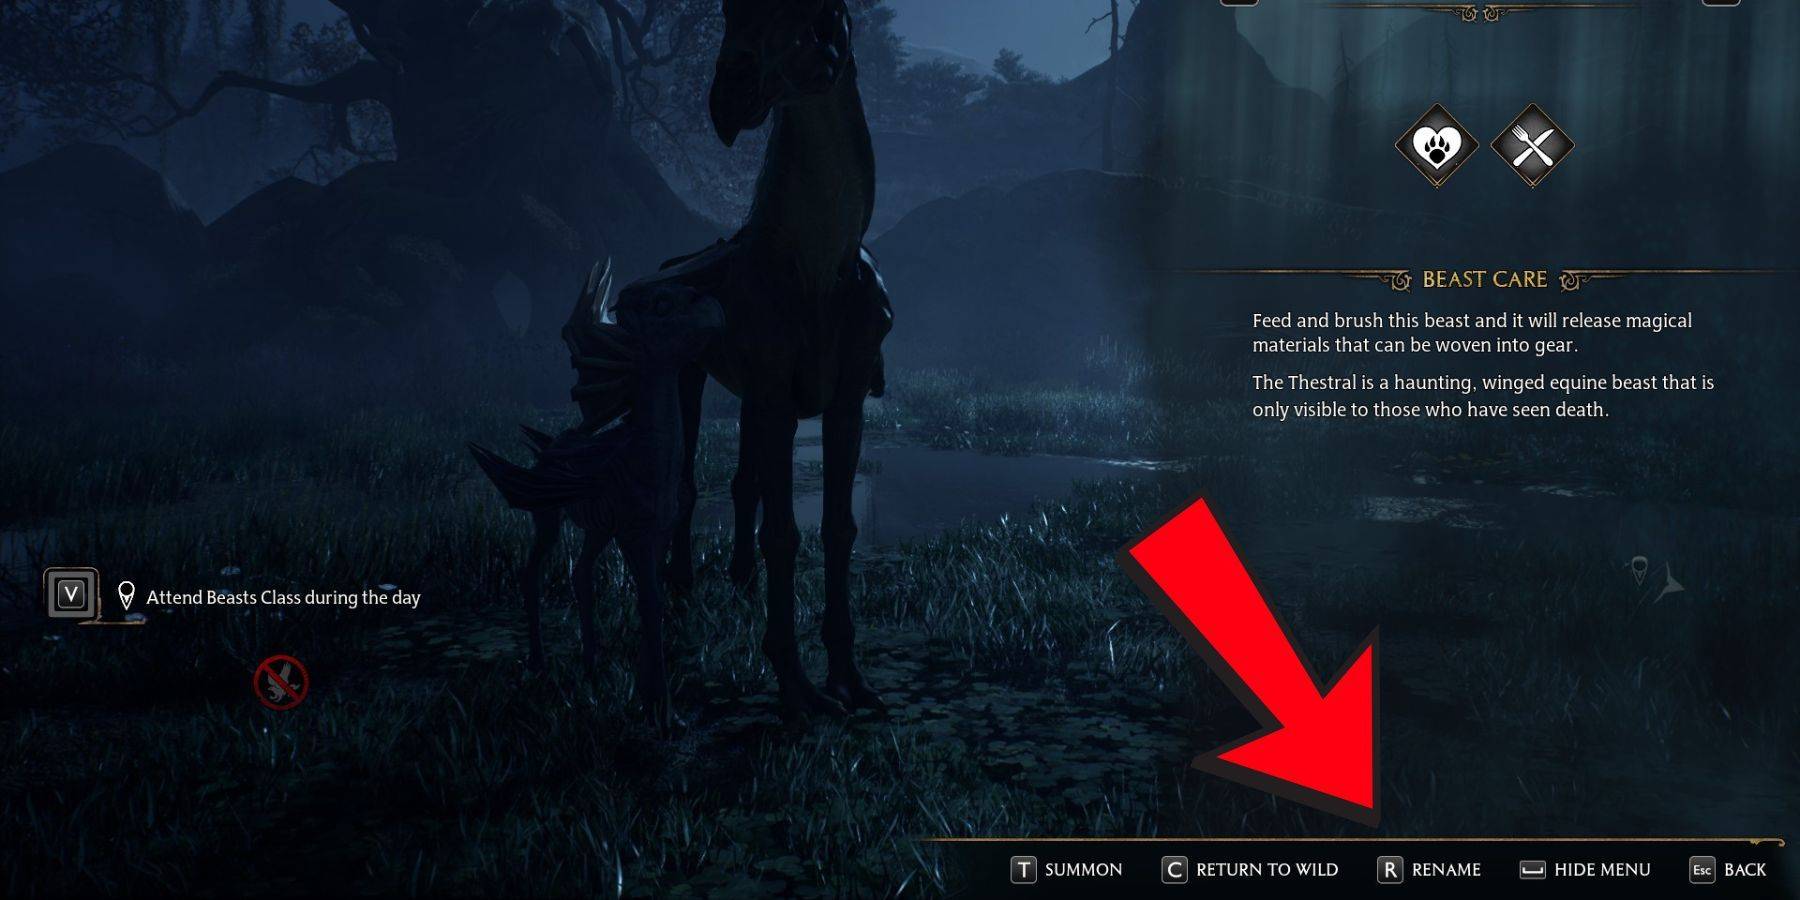
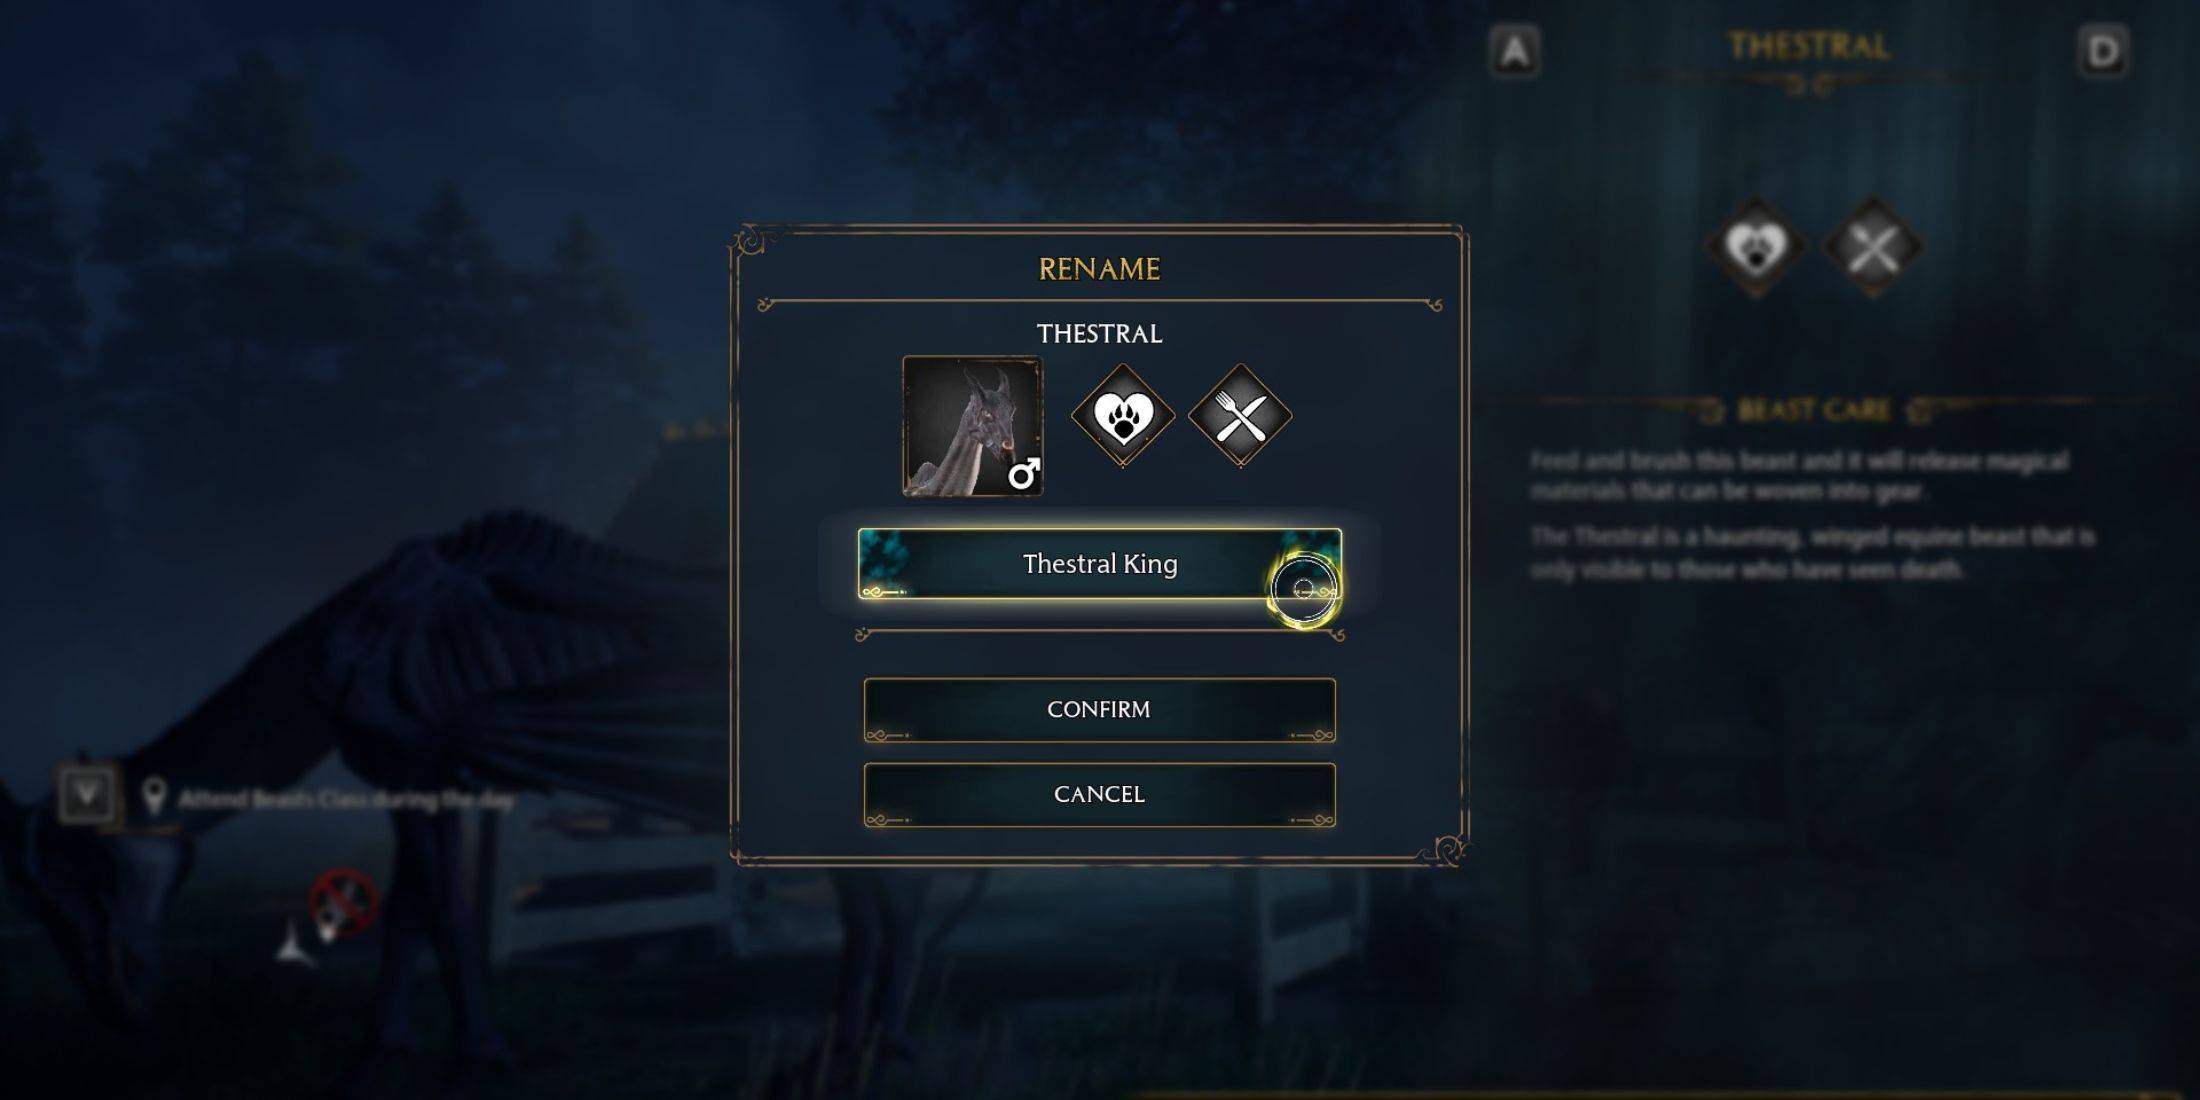
Benefits of Renaming Beasts:

Renaming your beasts offers several advantages:

  • Improved Management: Easily identify and track your collection, especially valuable or rare beasts.
  • Unlimited Renaming: Change nicknames as often as desired – there are no restrictions.
  • Enhanced Ownership: Personalize your experience and foster a stronger connection with your rescued creatures.

Enjoy the added layer of customization and organization that renaming your beasts provides in your Hogwarts Legacy adventure!